
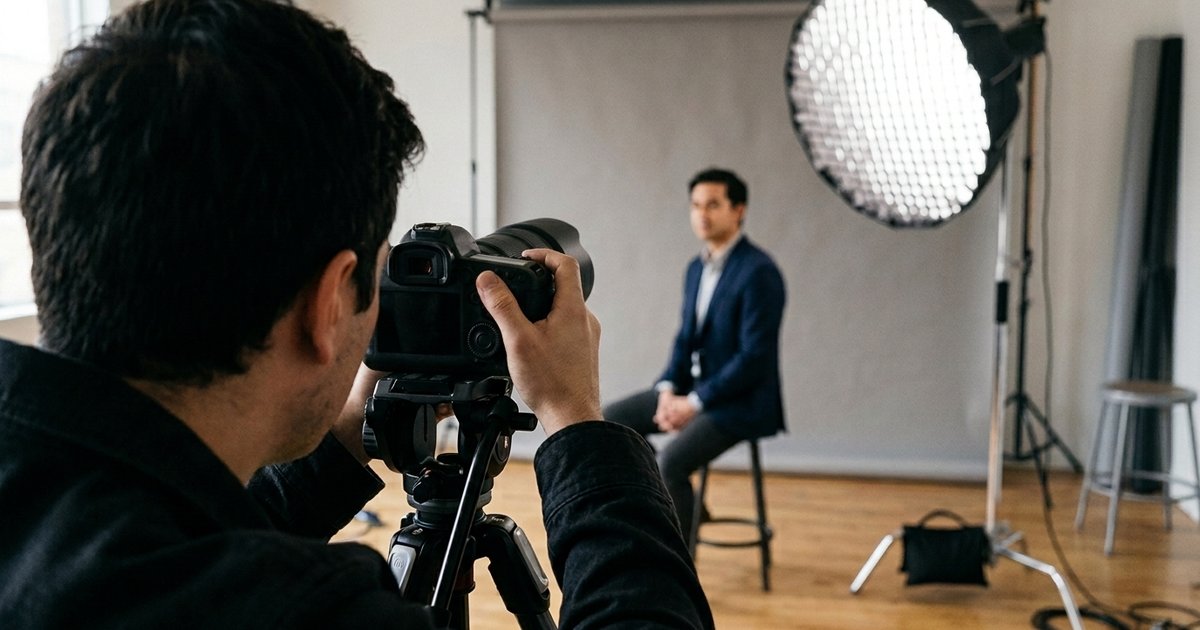
To pose for a headshot, turn your body roughly 15 to 45 degrees away from the camera and bring your face back toward the lens, push your chin slightly forward and then tip it a little down, let your shoulders drop, lean very slightly toward the camera, and look into the lens with a relaxed, genuine expression. Exhale just before each frame so your jaw and shoulders do not lock. Those few adjustments cover most of what professional headshot photographers direct, and the sections below explain each one and the mistakes to avoid.
The basic headshot pose, step by step
- Angle your body. Turn your torso off-camera, then turn your head back toward the lens.
- Chin forward, then slightly down. Move your chin toward the camera about an inch, then tilt it down a touch.
- Drop your shoulders. Roll them up, back and down once, then let them settle.
- Lean in slightly. A small forward lean from the hips reads as engaged; leaning back reads as passive.
- Eyes to the lens. Look into the lens itself, not at the photographer's face above or beside it.
- Breathe out. Exhale just before the shutter to release tension in the face and neck.
Body angle: why you should not face the camera square-on
Facing the camera straight on makes the shoulders look wider and the image flatter. Turning the torso puts one shoulder closer to the lens, which slims the shoulders and adds depth. San Mateo studio Luminous Space describes it with a clock: "if the camera is at 12 o'clock, your feet and torso point toward 10 or 2. Your eyes come back to 12."
Photographers suggest slightly different amounts of turn. Luminous Space recommends 30 to 45 degrees, while photographer Austen Hunter suggests about 15 to 30 degrees and notes that a broader build may benefit from more angle and a narrower build from less. Treat the range as a starting point and let your photographer fine-tune it.
Chin forward and down
This is the single most repeated headshot tip, sometimes called "turtling." Push your chin toward the camera a little, then lower it slightly. It feels odd, but on camera it:
- defines the jawline and separates the face from the neck,
- reduces the shadow under the chin that can look like a double chin, even on people who do not have one,
- draws attention to the eyes.
Keep the movement small. Common errors are lifting the chin (which shows the nostrils and can read as arrogant), dropping it too far, or pulling it back toward the neck, which is what usually causes the double-chin effect in the first place. Austen Hunter adds that if the camera is positioned below you, you may need to move the chin farther forward.
Shoulders and posture
Raised, tense shoulders are one of the most common problems in headshots, and the tension tends to travel into the neck and face. Photographers often remind clients to drop their shoulders repeatedly during a session.
- Before each frame, roll your shoulders up, back and down, then let them rest.
- If your shoulders round forward, draw your shoulder blades gently down and together rather than throwing your shoulders back.
- Keep your back straight but relaxed. Slouching reads as low confidence.
Eyes and expression
Your expression matters more than any single body position. A few techniques photographers use:
- Look into the lens, or at a fixed point just past it.
- Think of someone you like rather than trying to "look professional." It softens the eyes.
- Avoid squeezing your eyes. Hard squinting makes the eyes look smaller; a slight lift of the brow keeps them open and engaged.
- If you blink a lot, close your eyes between frames and open them on a count.
- Let a smile develop, then reset. A smile held for a long time turns stiff. The best headshot smiles are reactions, not held poses.
Choosing a smile for your field
| Expression | Often used for |
|---|---|
| Neutral, confident, mouth closed | Legal, finance, executive and some corporate roles |
| Soft closed-mouth smile | The safest choice if you are unsure |
| Full smile with teeth | Client-facing roles such as real estate and coaching |
Whichever you choose, it should reach your eyes. Ask the photographer to capture a few of each so you can decide afterward.
Head tilt
A small tilt can change the mood of a portrait, but keep it subtle, around 5 to 10 degrees. Luminous Space describes tilting toward the higher shoulder as reading friendly, toward the lower shoulder as more authoritative, and no tilt as neutral.
What to do with your hands
In a tight head-and-shoulders crop, your hands are not in the frame, so you do not need to think about them. In wider half-body or three-quarter shots, give them a clear job:
- arms loosely crossed,
- one hand in a pocket with the thumb outside,
- hands lightly touching a sleeve or jacket lapel,
- hands resting on a table or surface,
- holding an object relevant to your work.
Avoid hands dangling at the edge of the frame, hands on hips (which can look aggressive) and tightly clasped hands (which can look nervous).
Standing vs. sitting
| Standing | Sitting | |
|---|---|---|
| Feel | More energy, more cropping options | More relaxed and personal; shoulders tend to relax naturally |
| How to do it | Weight on the back leg, hips angled, chest lifted without pushing it out | Sit forward on the chair and lean from the hips instead of resting against the backrest |
If your photographer offers both, try both.
Common headshot posing mistakes
- Shoulders square to the camera
- Chin lifted, or pulled back into the neck
- Raised or rigid shoulders
- Leaning back away from the lens
- A forced smile held too long
- Arriving tired, which shows in the eyes and is hard to retouch naturally
- Trying too hard to control every detail
That last point is worth expanding. Several photographers note that clients who rehearse one fixed smile or insist on a single "good side" often look stiff. The relaxed moments between instructed frames, when you breathe, glance away and look back, are frequently where the best images come from.
How to practice before your session
Advice on practice is mixed. Some photographers recommend trying the three-quarter turn and the chin-forward cue in a mirror so the movements feel familiar. Others warn that over-rehearsing produces a fixed, unnatural look. A balanced approach:
- Spend a few minutes with a mirror or your phone's front camera feeling the difference between chin up, chin down and chin forward-then-down.
- Try turning each shoulder toward the camera to see whether one side feels more comfortable.
- Do not rehearse a particular smile.
- On the day, arrive rested, tell the photographer anything you are self-conscious about, and let them direct you. Small corrections in real time work better than a memorized pose.


